Getting Real-Time Updates on New Customers with Stripe Webhooks

Are you looking for a way to stay informed about new customers in your Stripe account in real-time? By using Stripe Webhooks, you can receive updates on new customers, subscriptions, and other events as they happen. In this tutorial, we will show you how to set up a webhook endpoint to receive real-time updates on new customers using the latest version of Node.js and JavaScript.
We'll start by showing you how to set up a simple Node.js server to receive webhook events from Stripe, and then we'll walk you through the process of creating a webhook in Stripe that points to your webhook endpoint. We'll also show you how to use the Stripe CLI to test your webhook endpoint locally before deploying it to your production environment.
Finally, we'll introduce you to Logweld, a centralized event tracking service that you can use to aggregate and analyze your Stripe webhook events. We'll show you how to post events to the Logweld API, and include examples of how to log customer events to Logweld.
By the end of this tutorial, you'll have a complete solution for receiving and logging Stripe webhook events in real-time, and you'll be able to automate your workflow and stay informed about important events as they happen.
Prerequisites
Before we begin, make sure you have the following:
- A Stripe account with test data or live data to work with
- The latest version of Node.js and NPM installed on your local machine
- Basic knowledge of JavaScript and Node.js
Setting Up the Webhook Endpoint
First, we need to set up an endpoint to receive the webhook event data from Stripe. We can create a simple Node.js server using the express module.
import express from 'express';
import { Stripe } from 'stripe';
import fetch from 'node-fetch';

const app = express();
const port = 3000;

const stripeClient = new Stripe(process.env.STRIPE_SECRET_KEY, {
    apiVersion: '2022-11-15',
});
const webhookSecret = process.env.STRIPE_WEBHOOK_SECRET;

app.post('/webhook', async (req, res) => {
    // Extract the signature and event data from the request headers and body
    const signature = req.headers['stripe-signature'];
    const body = await req.text();

    try {
        // Construct the event object and verify the signature using the Stripe webhook secret
        const event = await stripeClient.webhooks.constructEventAsync(body, signature, webhookSecret);

        console.log(`Received event: ${event.type}`);

        // Send a 204 No Content response to Stripe
        res.status(204).send();
    } catch (error) {
        console.log(`Error verifying Stripe signature: ${error.message}`);
        res.status(400).send(`Webhook Error: ${error.message}`);
    }
});

app.listen(port, () => {
    console.log(`Server running at http://localhost:${port}`);
});
In this code, we set up a simple express server listening on port 3000. We then create a route at
/webhook that responds to the POST method.
When receiving webhook events from Stripe, it's important to verify that the events were sent by
Stripe and have not been tampered with. To do this, we used the constructEventAsync method of the
Stripe API to construct and verify the event object.
Note: This is just an example, you will want to adapt this to your specific use case.
Creating a Webhook in Stripe
To receive real-time updates on new customers in your Stripe account, you'll need to create a webhook in Stripe that points to your production webhook endpoint. Follow these steps to create a new webhook:
- Log in to your Stripe account and navigate to the "Developers" section in the left-hand menu.
- Click on the "Webhooks" option.
- Click on the "Add Endpoint" button.
- In the "Endpoint URL" field, enter the URL of your production webhook endpoint.
- In the "Events to Send" section, select the "customer.created" event.
- Click on the "Add Endpoint" button to save the new webhook.
Note that in order to test your webhook endpoint locally, you can use the Stripe CLI to forward webhook events from your Stripe account to your local machine. See the section below for instructions on how to do this.
Testing the Webhook
To test your local webhook endpoint, you can use the Stripe CLI to forward webhook events from your Stripe account to your local machine. Follow these steps to set up the Stripe CLI:
- Open a command prompt or terminal window.
- Log in to your Stripe account with the Stripe CLI by running the following command and following the prompts:
stripe login- Forward webhook events to your local machine by running the following command:
stripe listen --forward-to http://localhost:3000/webhook- The Stripe CLI will now start listening for webhook events. You can create a new customer in your Stripe account to trigger a customer.created event, which the Stripe CLI will forward to your local machine.
- Check the console output of your Node.js server to confirm that the webhook event was received. You should see a log message indicating that the customer.created event was received.
Congratulations! You have successfully set up a webhook endpoint to receive real-time updates on new customers in your Stripe account, and you have tested your webhook endpoint using the Stripe CLI. By using Stripe Webhooks, you can automate your workflow and stay informed about important events as they happen.
Posting Stripe Events to Logweld
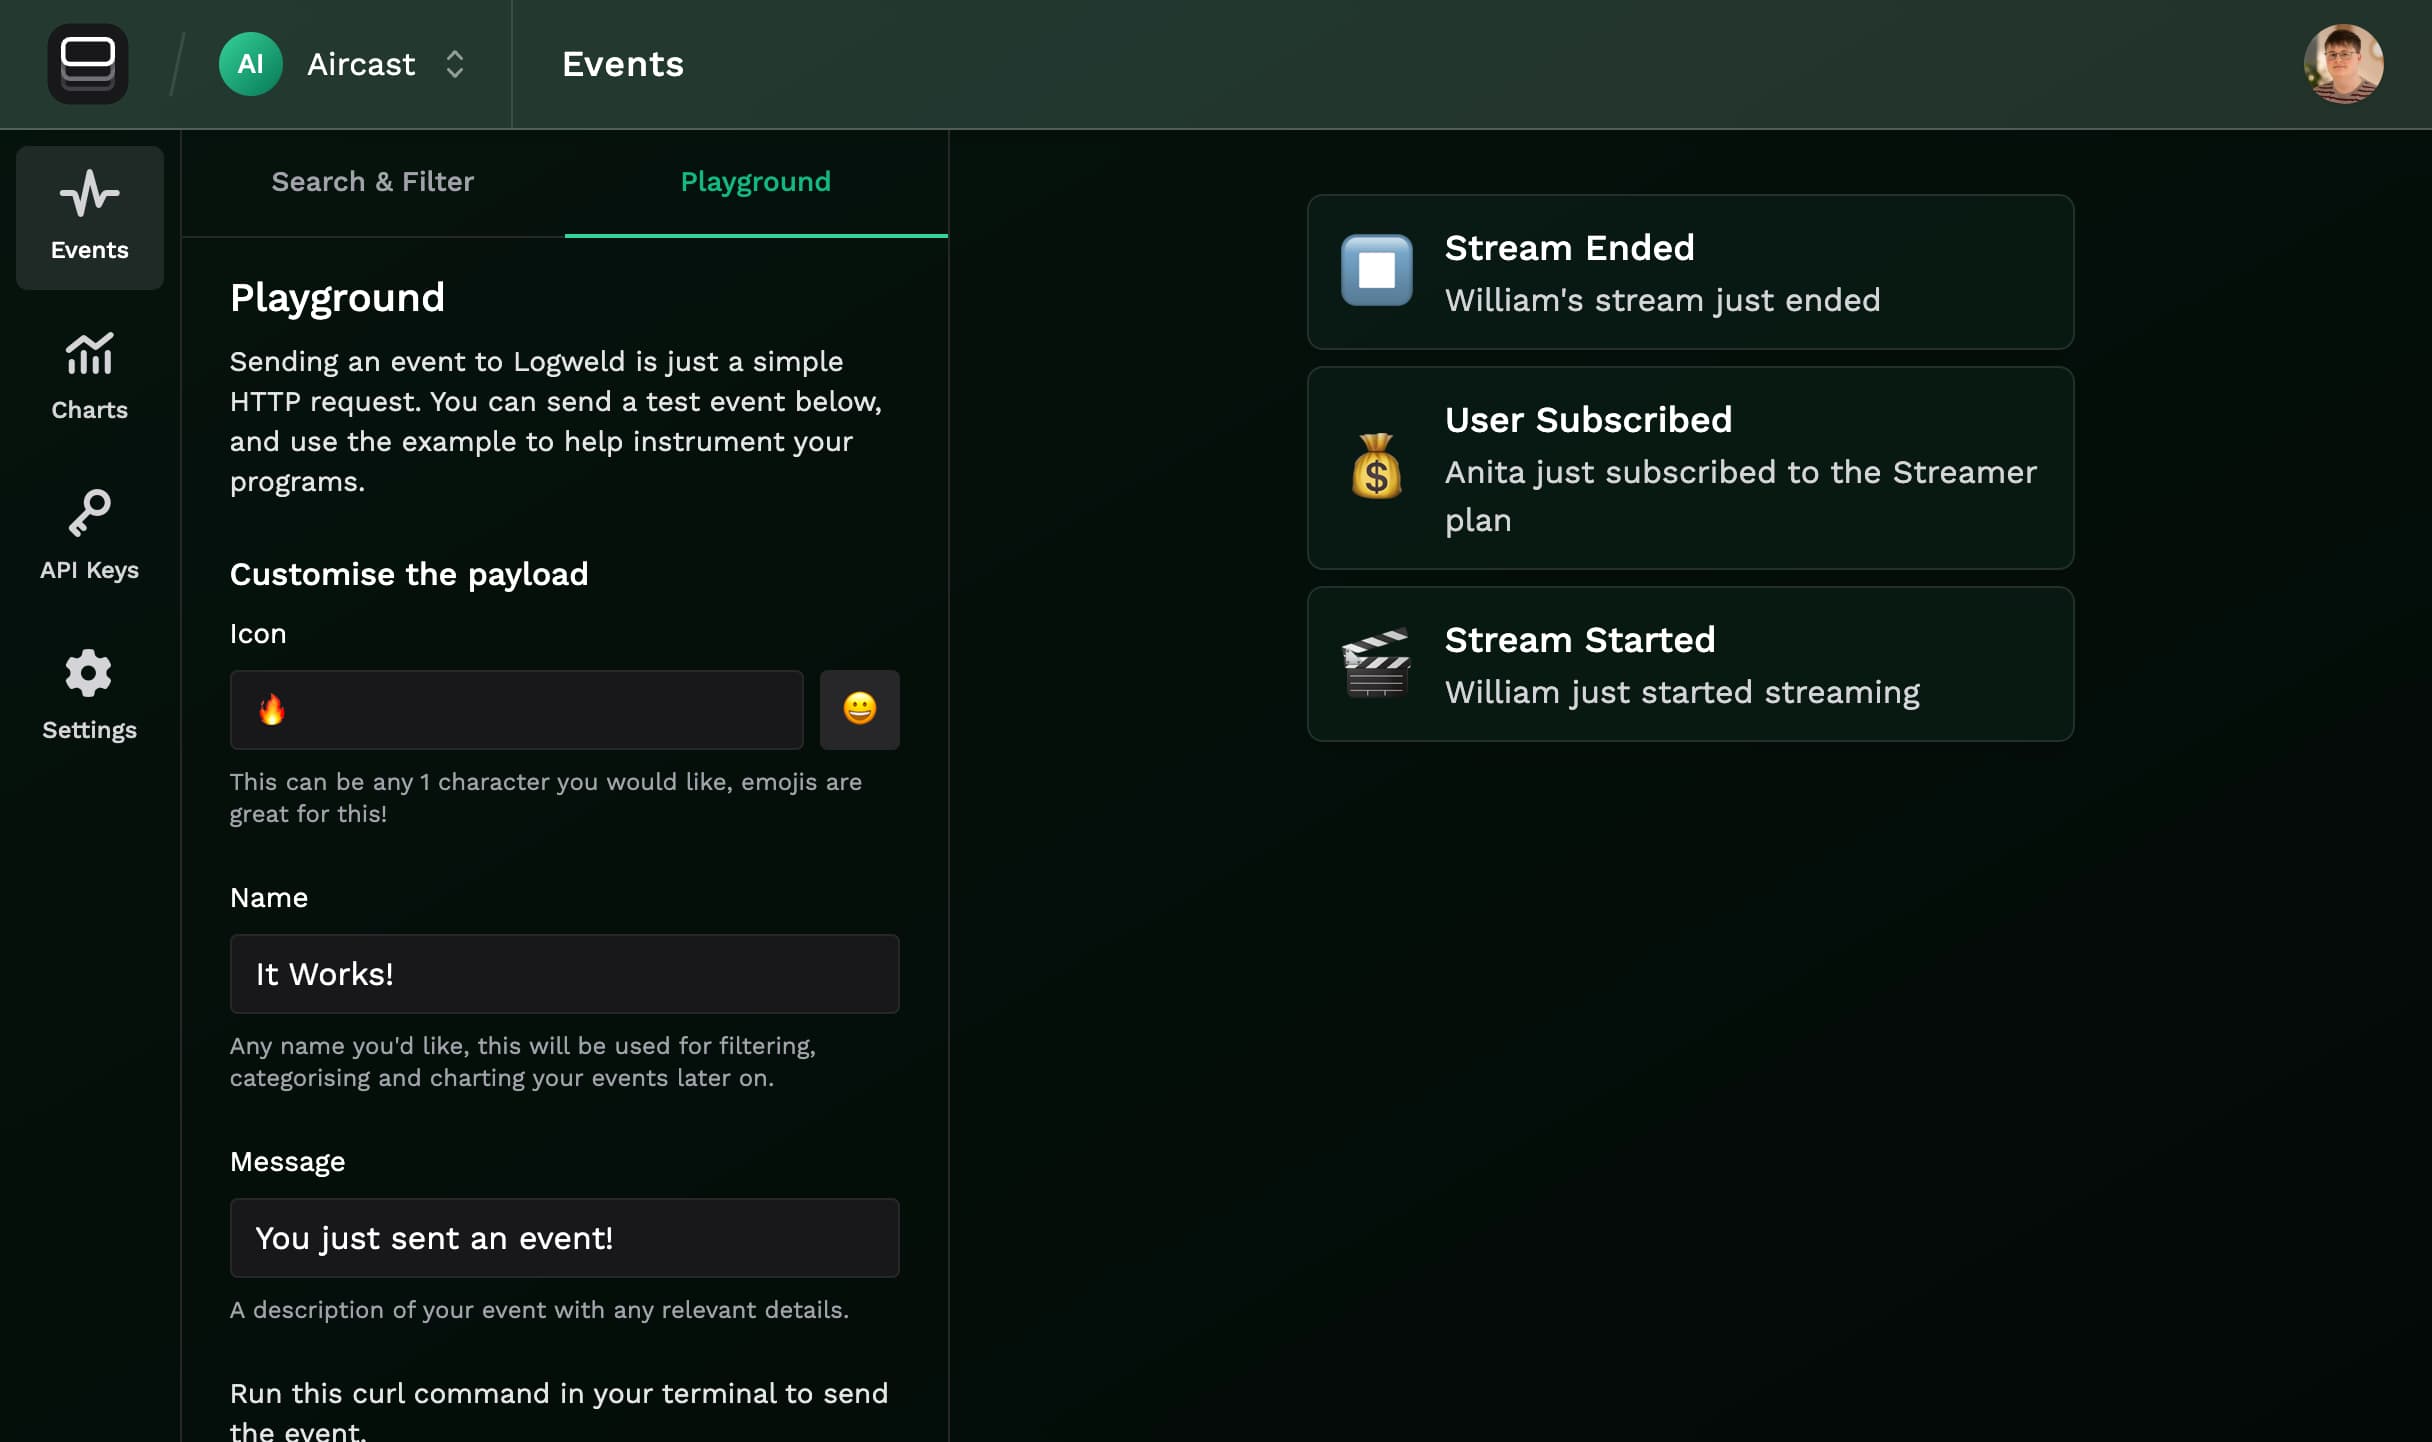
In addition to logging the event to the console, you might also want to log the event to a remote event tracking like Logweld. Logweld provides a simple way to aggregate and search your events, and offers a free plan that should be sufficient for your first few hundred users.
To post events to the Logweld API, we can use the fetch API to send an HTTP POST request to the Logweld endpoint with the event data. We also include an API key in the Authorization header to authenticate the request. Here's a function we can use to do this.
const logweldApiKey = process.env.LOGWELD_API_KEY;
async function postToLogweld(customer) {
    const data = {
        icon: '✨',
        name: 'New Stripe Customer',
        message: `New customer created with ID ${customer.id} and email ${customer.email}`,
        metadata: {
            customerID: customer.id,
            customerEmail: customer.email,
            createdAt: customer.created,
        },
    };
    try {
        const response = await fetch('https://logweld.sh/api/ingest/default', {
            method: 'POST',
            headers: {
                'Content-Type': 'application/json',
                Authorization: `Bearer ${logweldApiKey}`,
            },
            body: JSON.stringify(data),
        });
        console.log(`Logweld response status: ${response.status}`);
    } catch (error) {
        console.error('Error posting to Logweld:', error);
    }
}
In this example, we define the postToLogWeld function to post the customer information to the
Logweld endpoint, and then include the Logweld API key in the Authorization header of the HTTP POST
request. You will need to specify the LOGWELD_API_KEY variable with your actual Logweld API key via
environment variables.
Now you can call this function in your webhook to post new customers events to Logweld.
  const constructedEvent = await stripeClient.webhooks.constructEventAsync(
    body,
    signature,
    webhookSecret
  );

-  console.log(`Received event: ${event.type}`);

-  // Send a 204 No Content response to Stripe
+  // Send a 204 No Content response to Stripe before any actions to avoid timeouts
  res.status(204).send();
+
+  if (event.type === 'customer.created') {
+    await postToLogweld(event.data.object);
+  }
  } catch (error) {
With this updated code, you can now receive events from Stripe and post them to Logweld for centralized logging and analysis. You can easily expand on this to post events about new subscriptions, payouts, and more.
Conclusion
We hope this tutorial has helped you learn how to set up a webhook endpoint to receive real-time updates on new customers and subscriptions in your Stripe account, and how to post these events to an event tracking service like Logweld.
By using Stripe Webhooks and Logweld together, you can automate your workflow, stay informed about important events as they happen, and quickly troubleshoot any issues that arise. With Stripe, you can build powerful event-driven applications that integrate seamlessly with your existing infrastructure.
Don't hesitate to explore the Stripe API to learn more about what you can do with webhooks and other features, and be sure to check out Logweld to simplify your event tracking and monitoring workflows.